Photo guide for comprehensive car insurance
Learn how to photograph your car properly so you can take out comprehensive insurance quickly and without hassle.
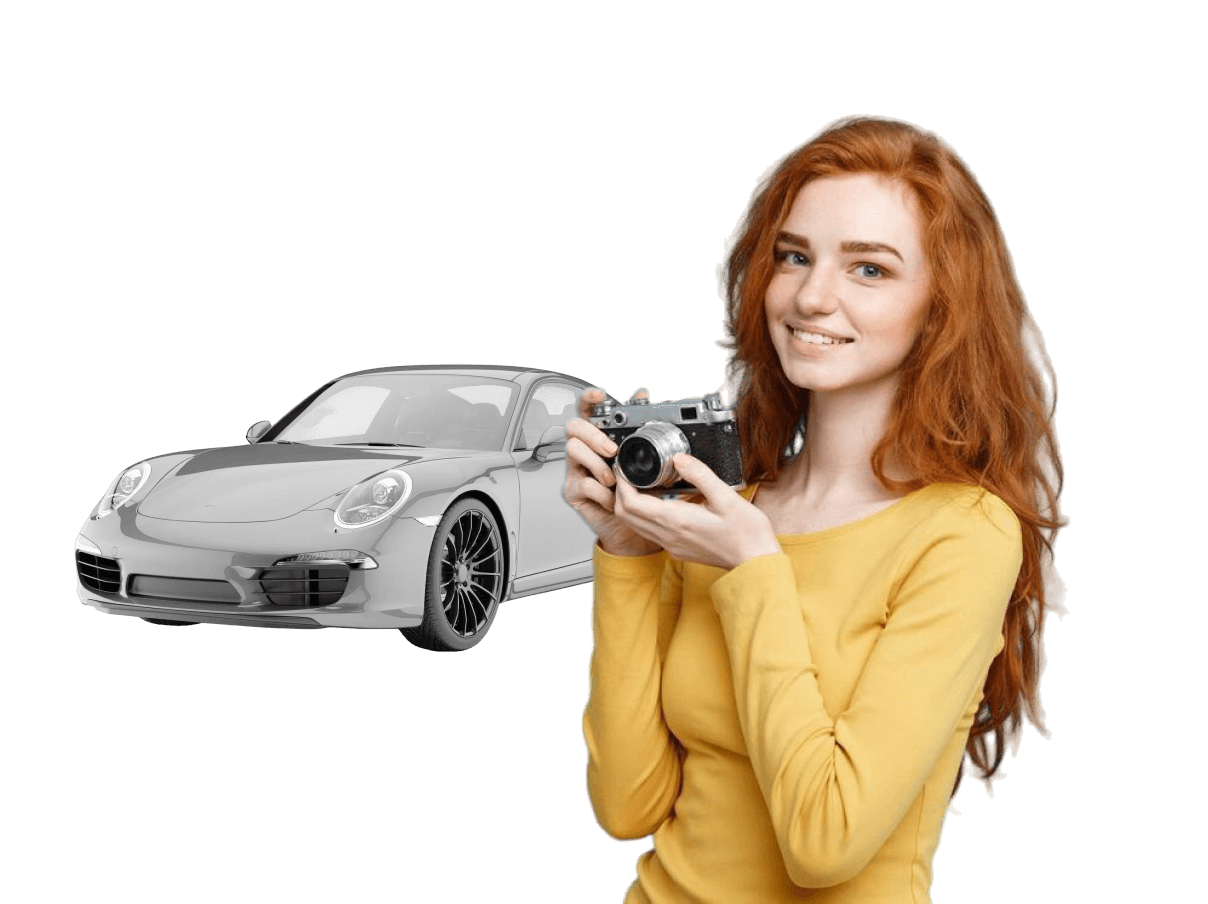
Photograph in daylight
Make sure the car is clean and the background is clear of trees, other cars or shadows.
Show the photo date
If your camera allows it, turn on the date stamp so we can confirm the photos are current.
Keep the right file size
Recommended size is 200–300 KB, and no more than 1 MB or less than 200 KB.
Follow these instructions
Use the photo layouts below — they help you prepare the pictures your insurer needs.
Steps with examples
Follow the steps below and photograph the car correctly.
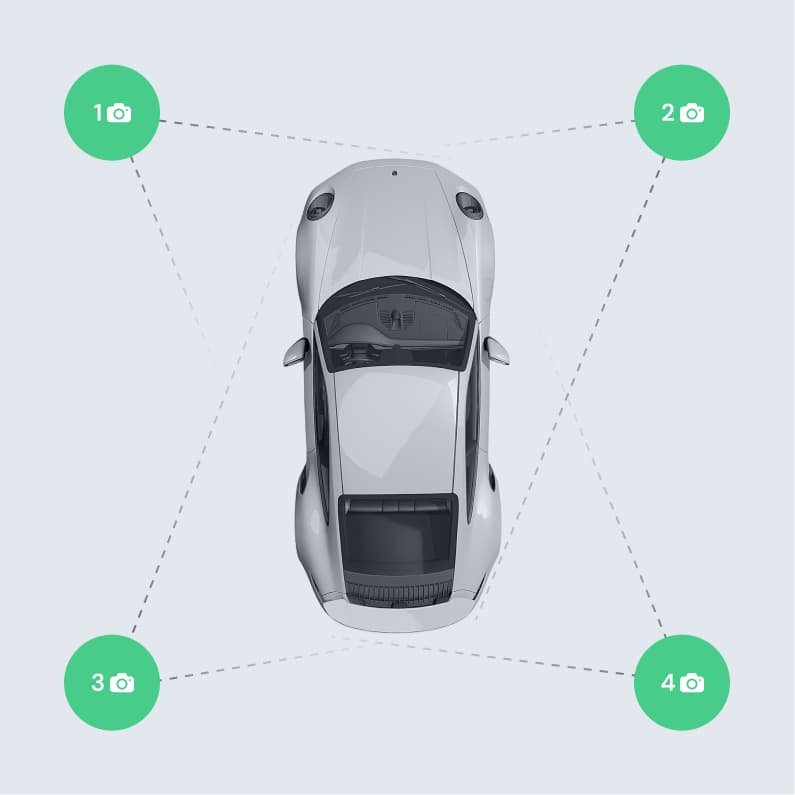
1. Photograph the vehicle
Photograph the vehicle from four corners — front, rear, left and right — so the registration plates are visible.
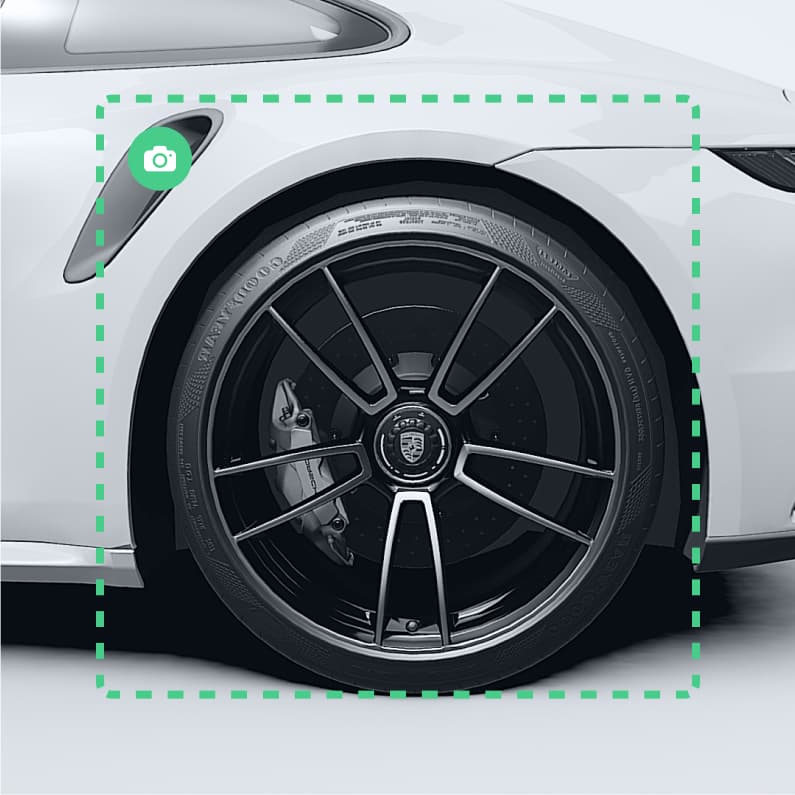
2. Photograph the wheels
Photograph all four wheels from the side so each full wheel and its condition are clearly visible.
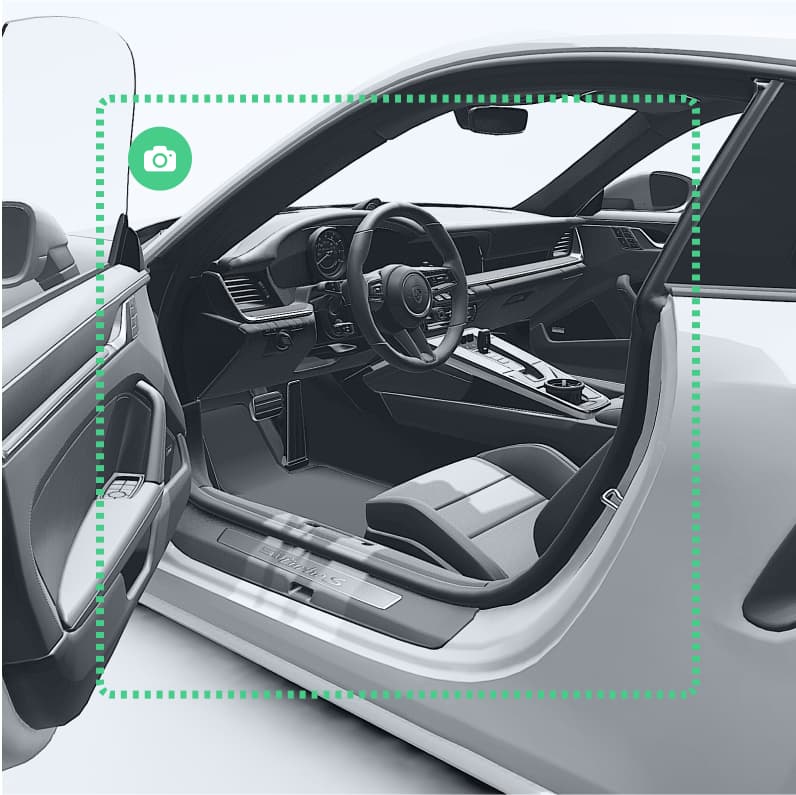
3. Photograph the interior
Photograph the cabin from the driver’s side so the open door, equipment, steering wheel and dashboard are visible.
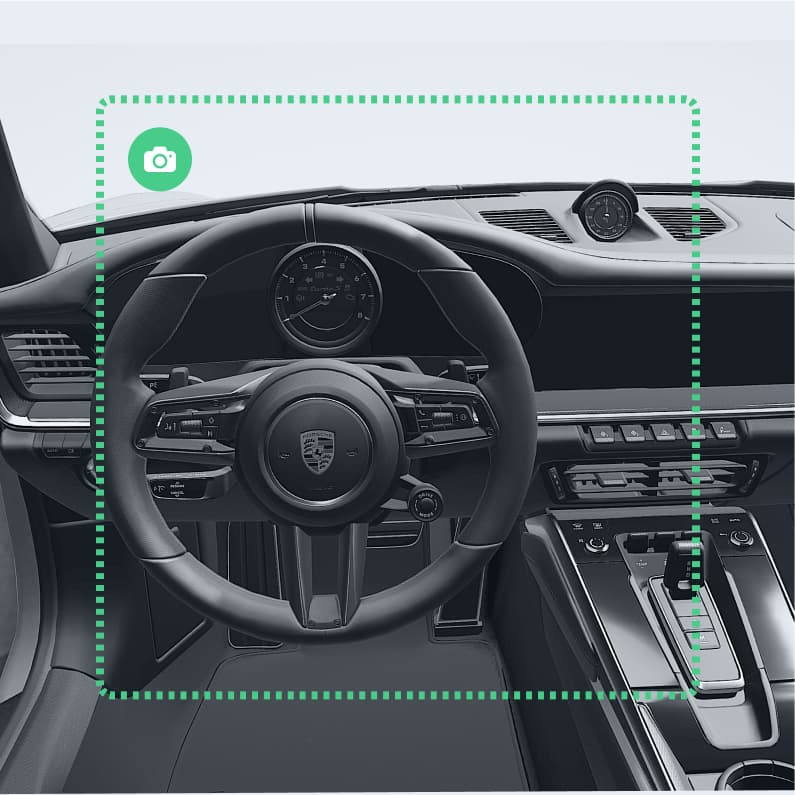
4. Photograph the dashboard
Photograph the dashboard so all instruments and their readings are visible.
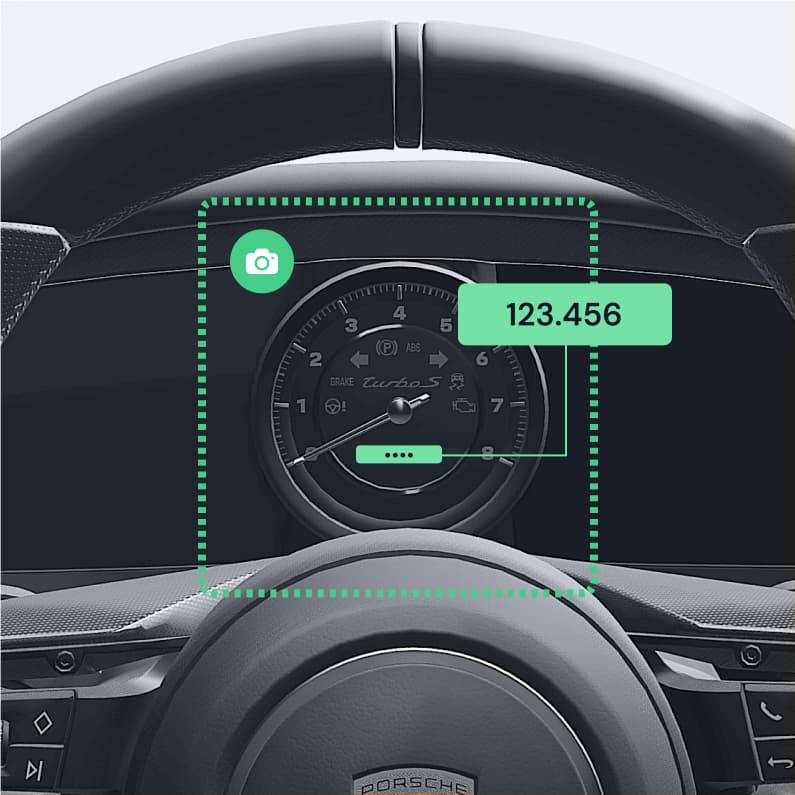
5. Photograph the mileage
Photograph the odometer so the mileage reading is clearly visible.
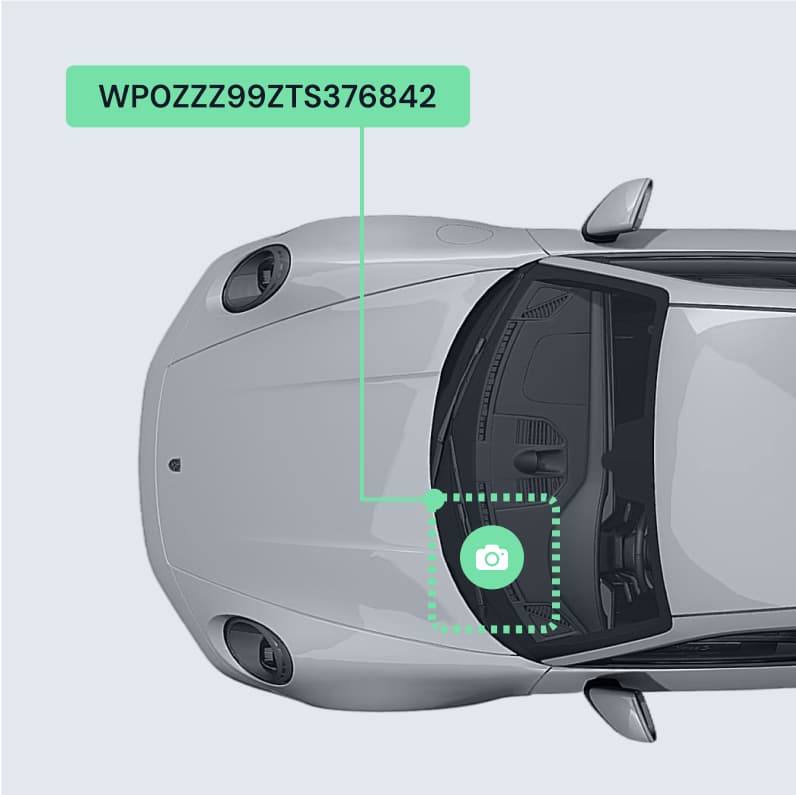
6. Photograph the VIN
Photograph the VIN so every character and digit is clearly visible.
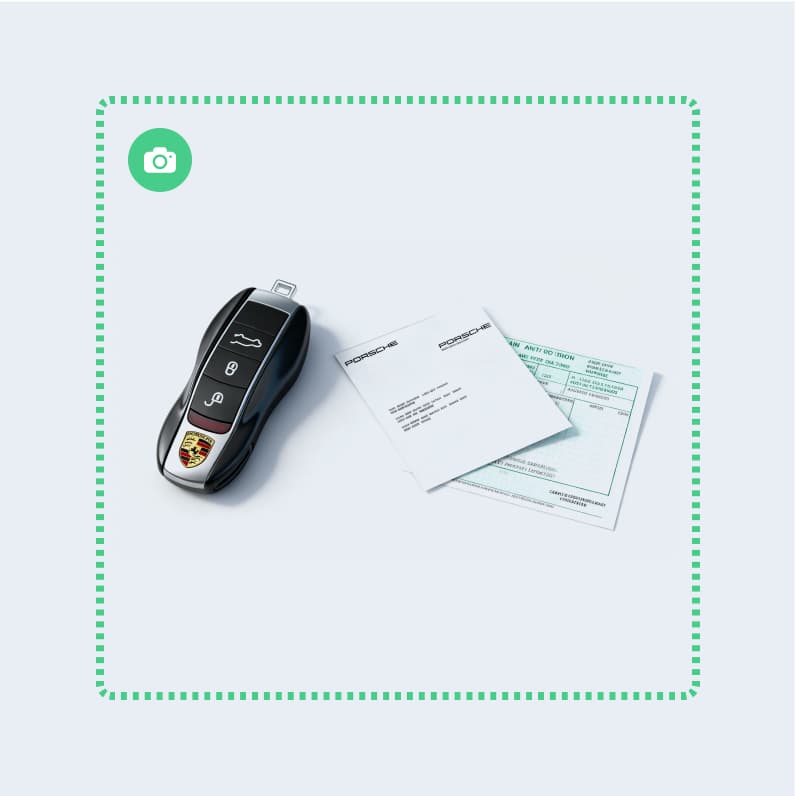
7. Photograph the documents
Photograph the vehicle documents — the registration certificate and the keys.
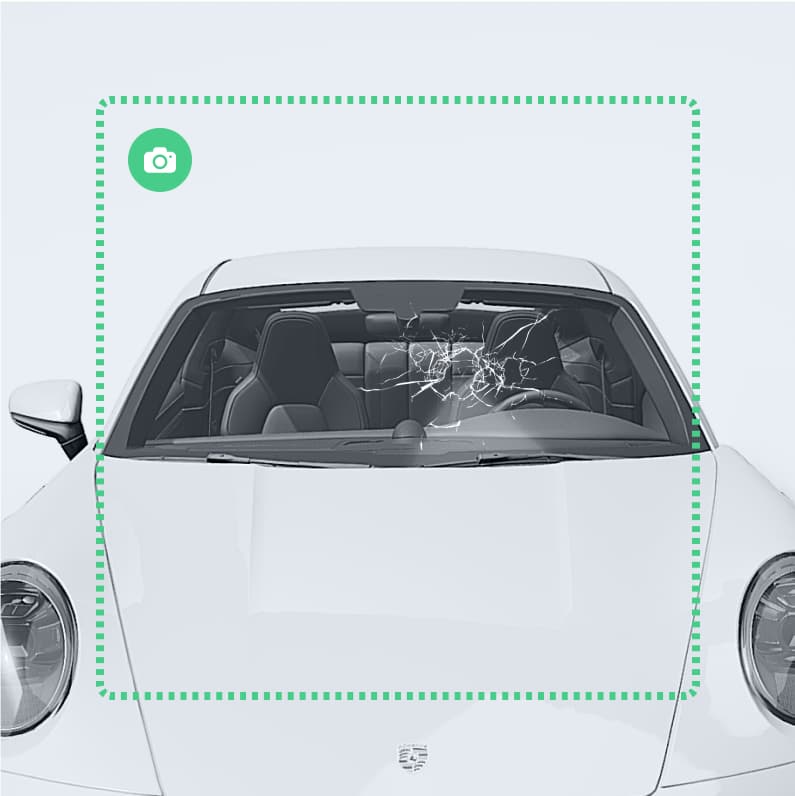
8. Photograph the damage
Photograph any damage so every defect is clearly visible.
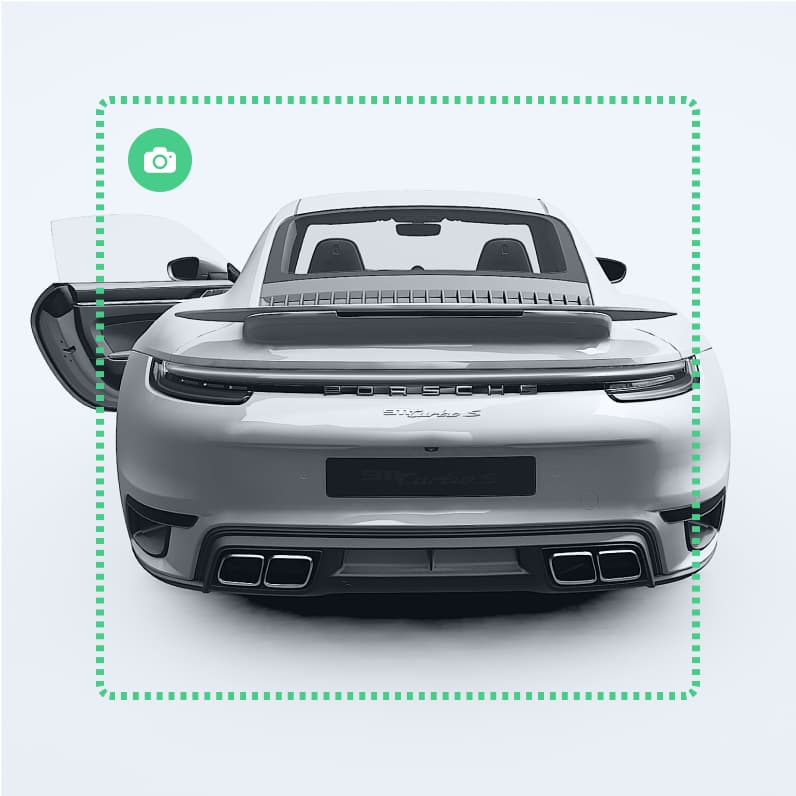
9. Photograph the boot
Photograph the boot so its size and condition are visible.
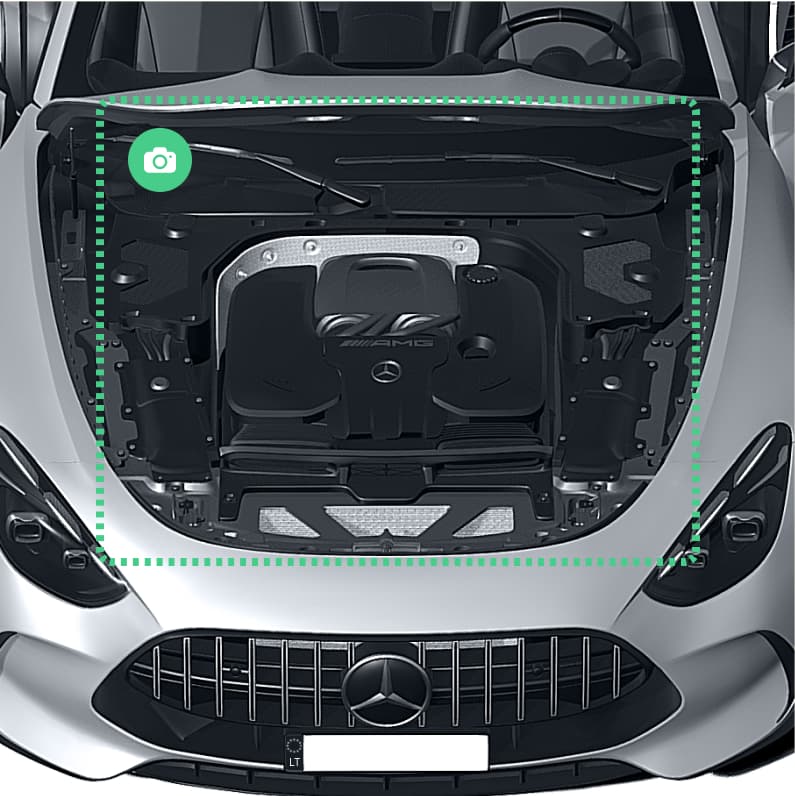
10. Photograph the engine bay
Photograph the engine bay with the bonnet open so the engine and the parts beneath it are clearly visible.
Finished taking photos?
Upload the photos here:
JPG, PNG or other photos (max. 10 MB)